 TL;DR:
- Build a real-time voice application using WebRTC and connect it with the
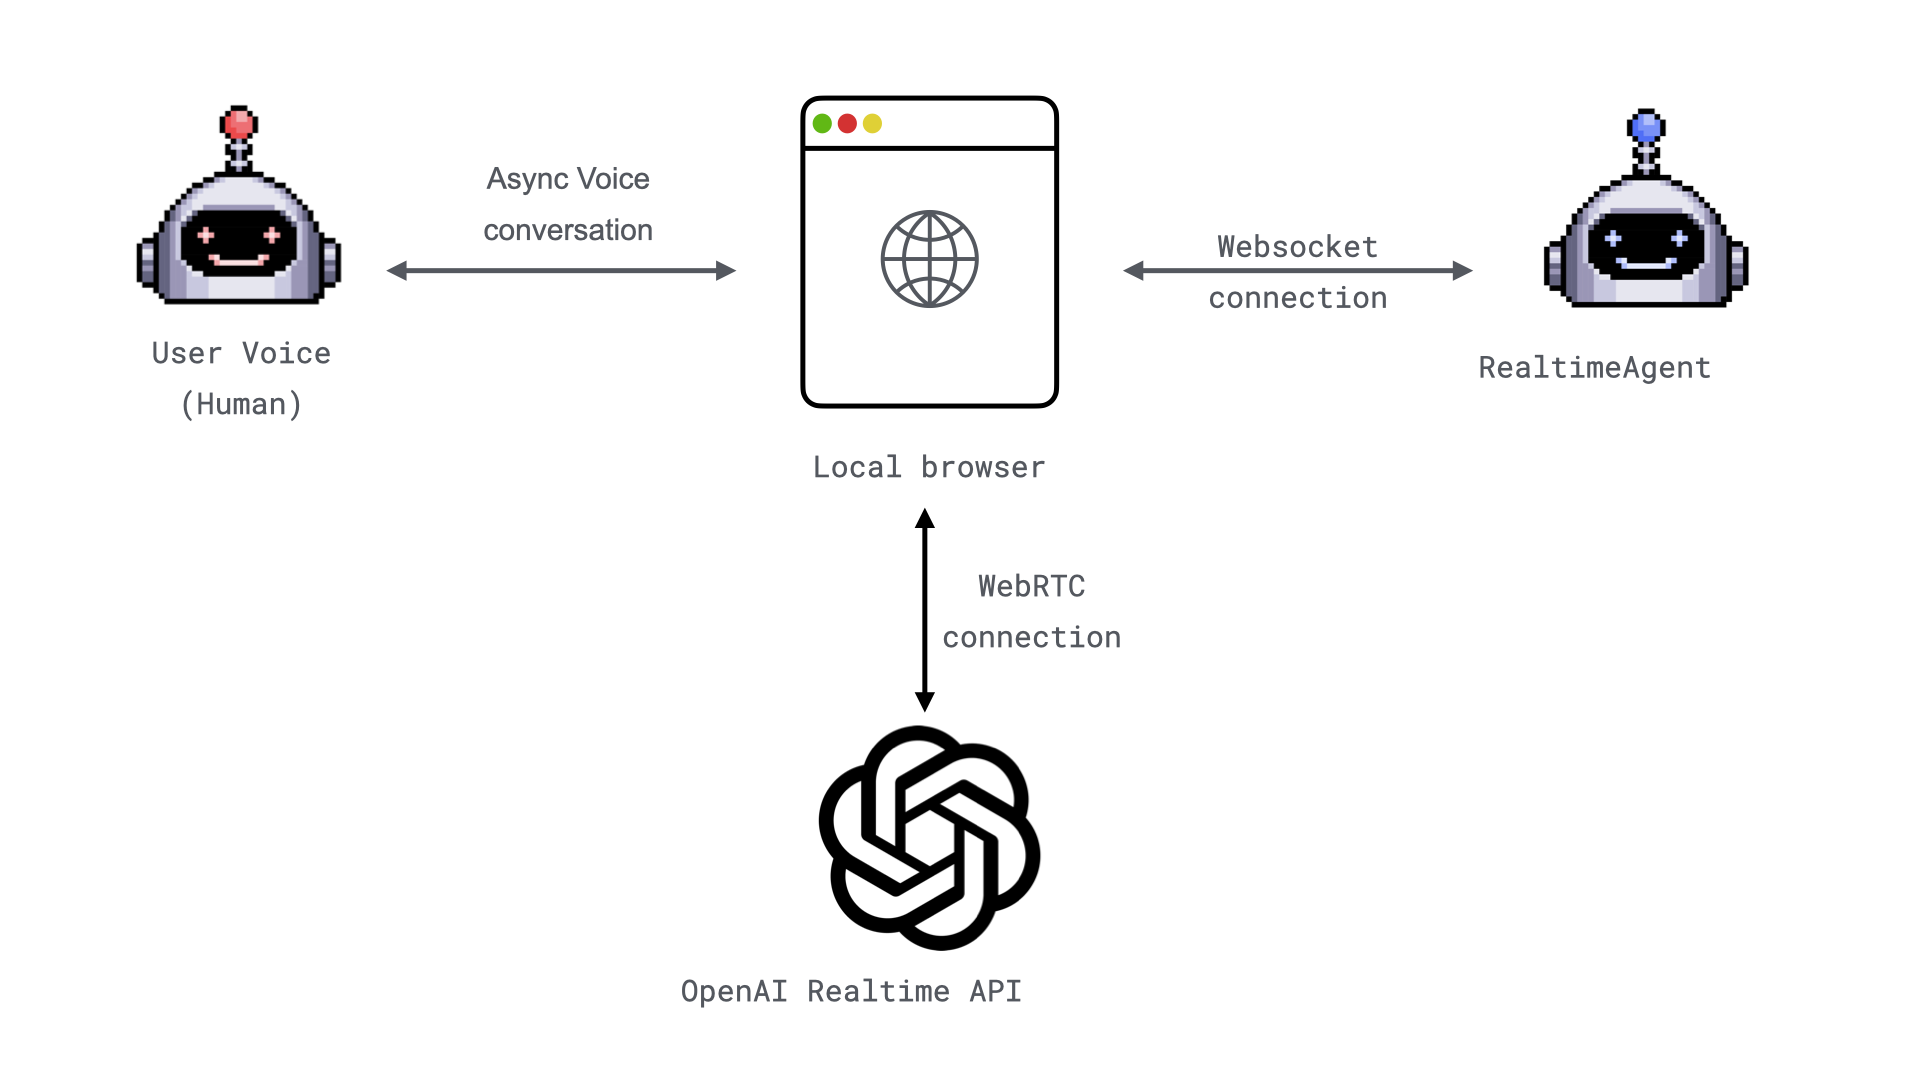
RealtimeAgent. Demo implementation. - Optimized for Real-Time Interactions: Experience seamless voice communication with minimal latency and enhanced reliability.
Realtime Voice Applications with WebRTC
In our previous blog post, we introduced theWebSocketAudioAdapter, a simple way to stream real-time audio using WebSockets. While effective, WebSockets can face challenges with quality and reliability in high-latency or network-variable scenarios. Enter WebRTC.
Today, we’re excited to showcase the integration with OpenAI Realtime API with WebRTC, leveraging WebRTC’s peer-to-peer communication capabilities to provide a robust, low-latency, high-quality audio streaming experience directly from the browser.
Why WebRTC?
WebRTC (Web Real-Time Communication) is a powerful technology for enabling direct peer-to-peer communication between browsers and servers. It was built with real-time audio, video, and data transfer in mind, making it an ideal choice for real-time voice applications. Here are some key benefits:1. Low Latency
WebRTC’s peer-to-peer design minimizes latency, ensuring natural, fluid conversations.2. Adaptive Quality
WebRTC dynamically adjusts audio quality based on network conditions, maintaining a seamless user experience even in suboptimal environments.3. Secure by Design
With encryption (DTLS and SRTP) baked into its architecture, WebRTC ensures secure communication between peers.4. Widely Supported
WebRTC is supported by all major modern browsers, making it highly accessible for end users.How It Works
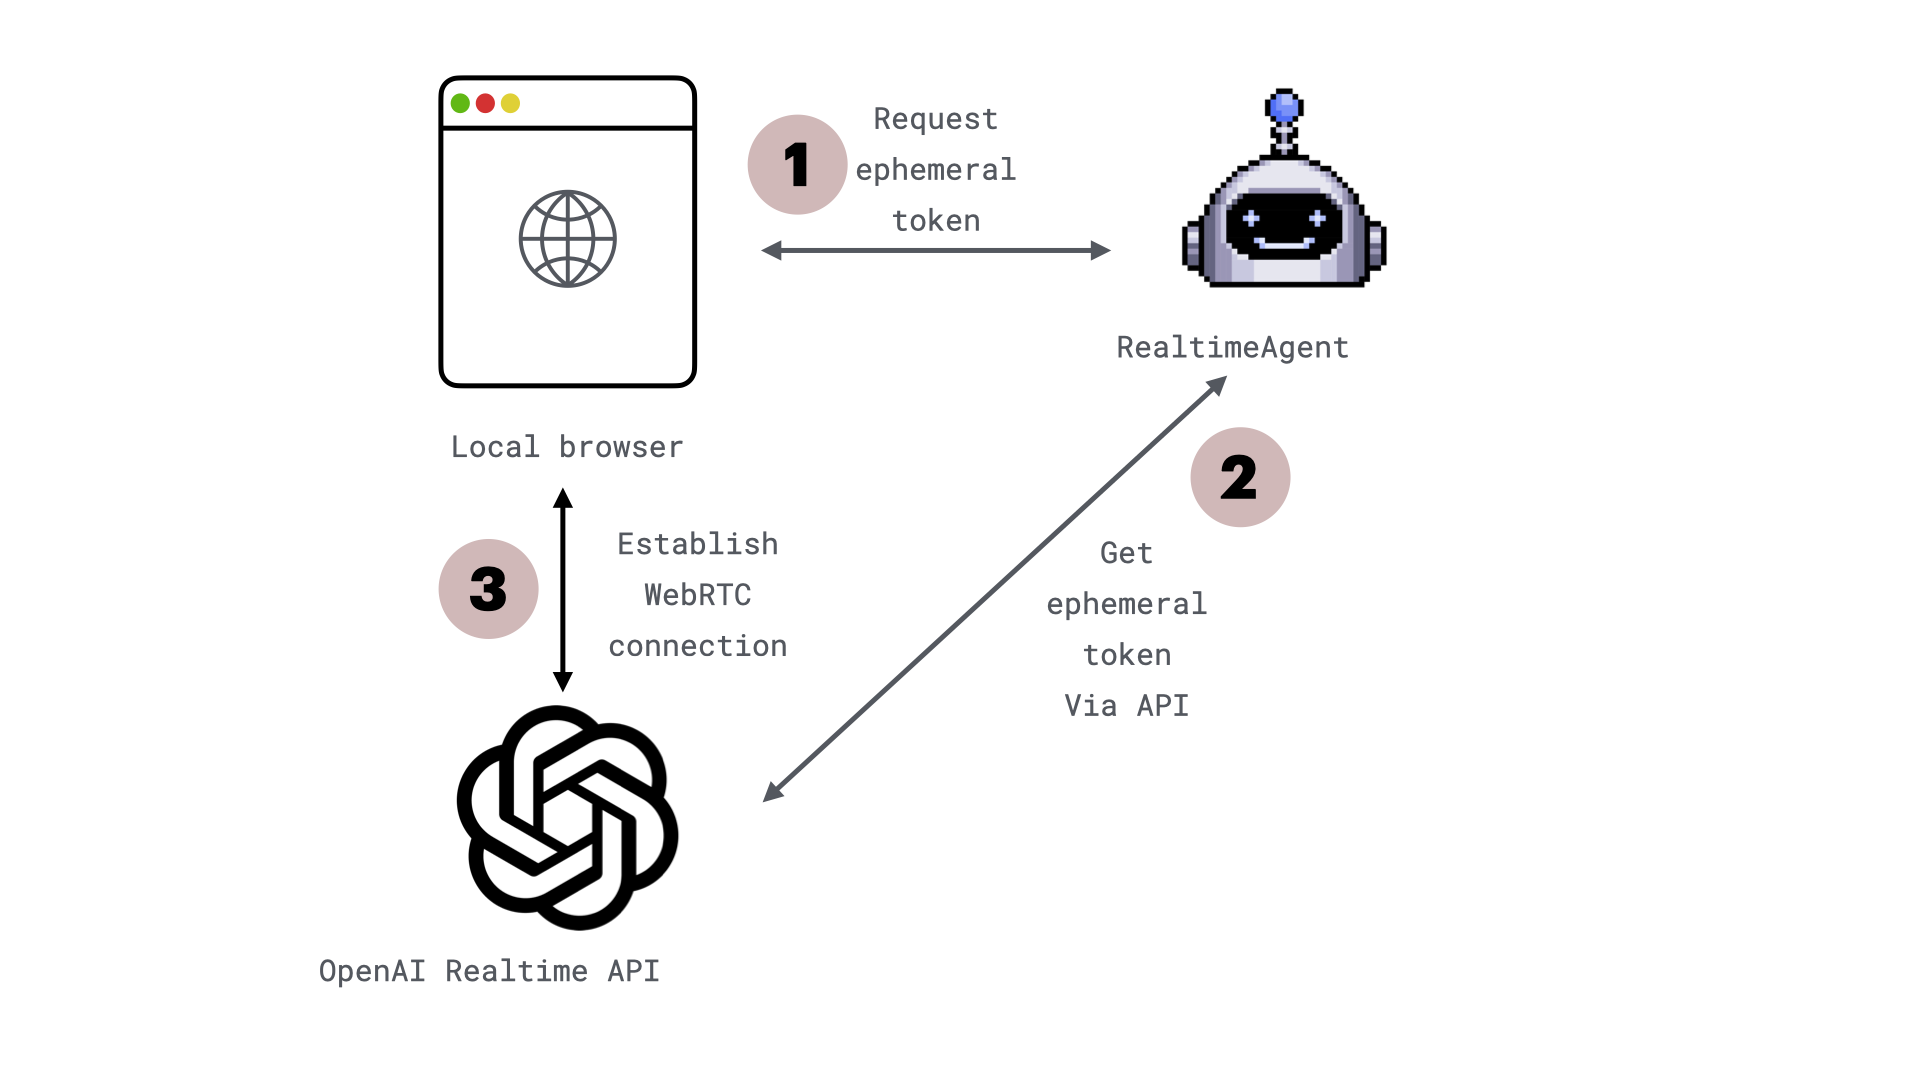
This example demonstrates using WebRTC to establish low-latency, real-time interactions with OpenAI Realtime API with WebRTC from a web browser. Here’s how it works:
-
Request an Ephemeral API Key
- The browser connects to your backend via WebSockets to exchange configuration details, such as the ephemeral key and model information.
- WebSockets handle signaling to bootstrap the WebRTC session.
- The browser requests a short-lived API key from your server.
-
Generate an Ephemeral API Key
- Your backend generates an ephemeral key via the OpenAI REST API and returns it. These keys expire after one minute to enhance security.
-
Initialize the WebRTC Connection
- Audio Streaming: The browser captures microphone input and streams it to OpenAI while playing audio responses via an
<audio>element. - DataChannel: A
DataChannelis established to send and receive events (e.g., function calls). - Session Handshake: The browser creates an SDP offer, sends it to OpenAI with the ephemeral key, and sets the remote SDP answer to finalize the connection.
- The audio stream and events flow in real time, enabling interactive, low-latency conversations.
- Audio Streaming: The browser captures microphone input and streams it to OpenAI while playing audio responses via an
Example: Build a Voice-Enabled Weather Bot
Let’s walk through a practical example of using WebRTC to create a voice-enabled weather bot.You can find the full example here.
1. Clone the Repository
Start by cloning the example project from GitHub:2. Set Up Environment Variables
Create aOAI_CONFIG_LIST file based on the provided OAI_CONFIG_LIST_sample:
OAI_CONFIG_LIST file, update the api_key with your OpenAI API key.
(Optional) Create and Use a Virtual Environment
To avoid cluttering your global Python environment:3. Install Dependencies
Install the required Python packages:4. Start the Server
Run the application with Uvicorn:5. Open the Application
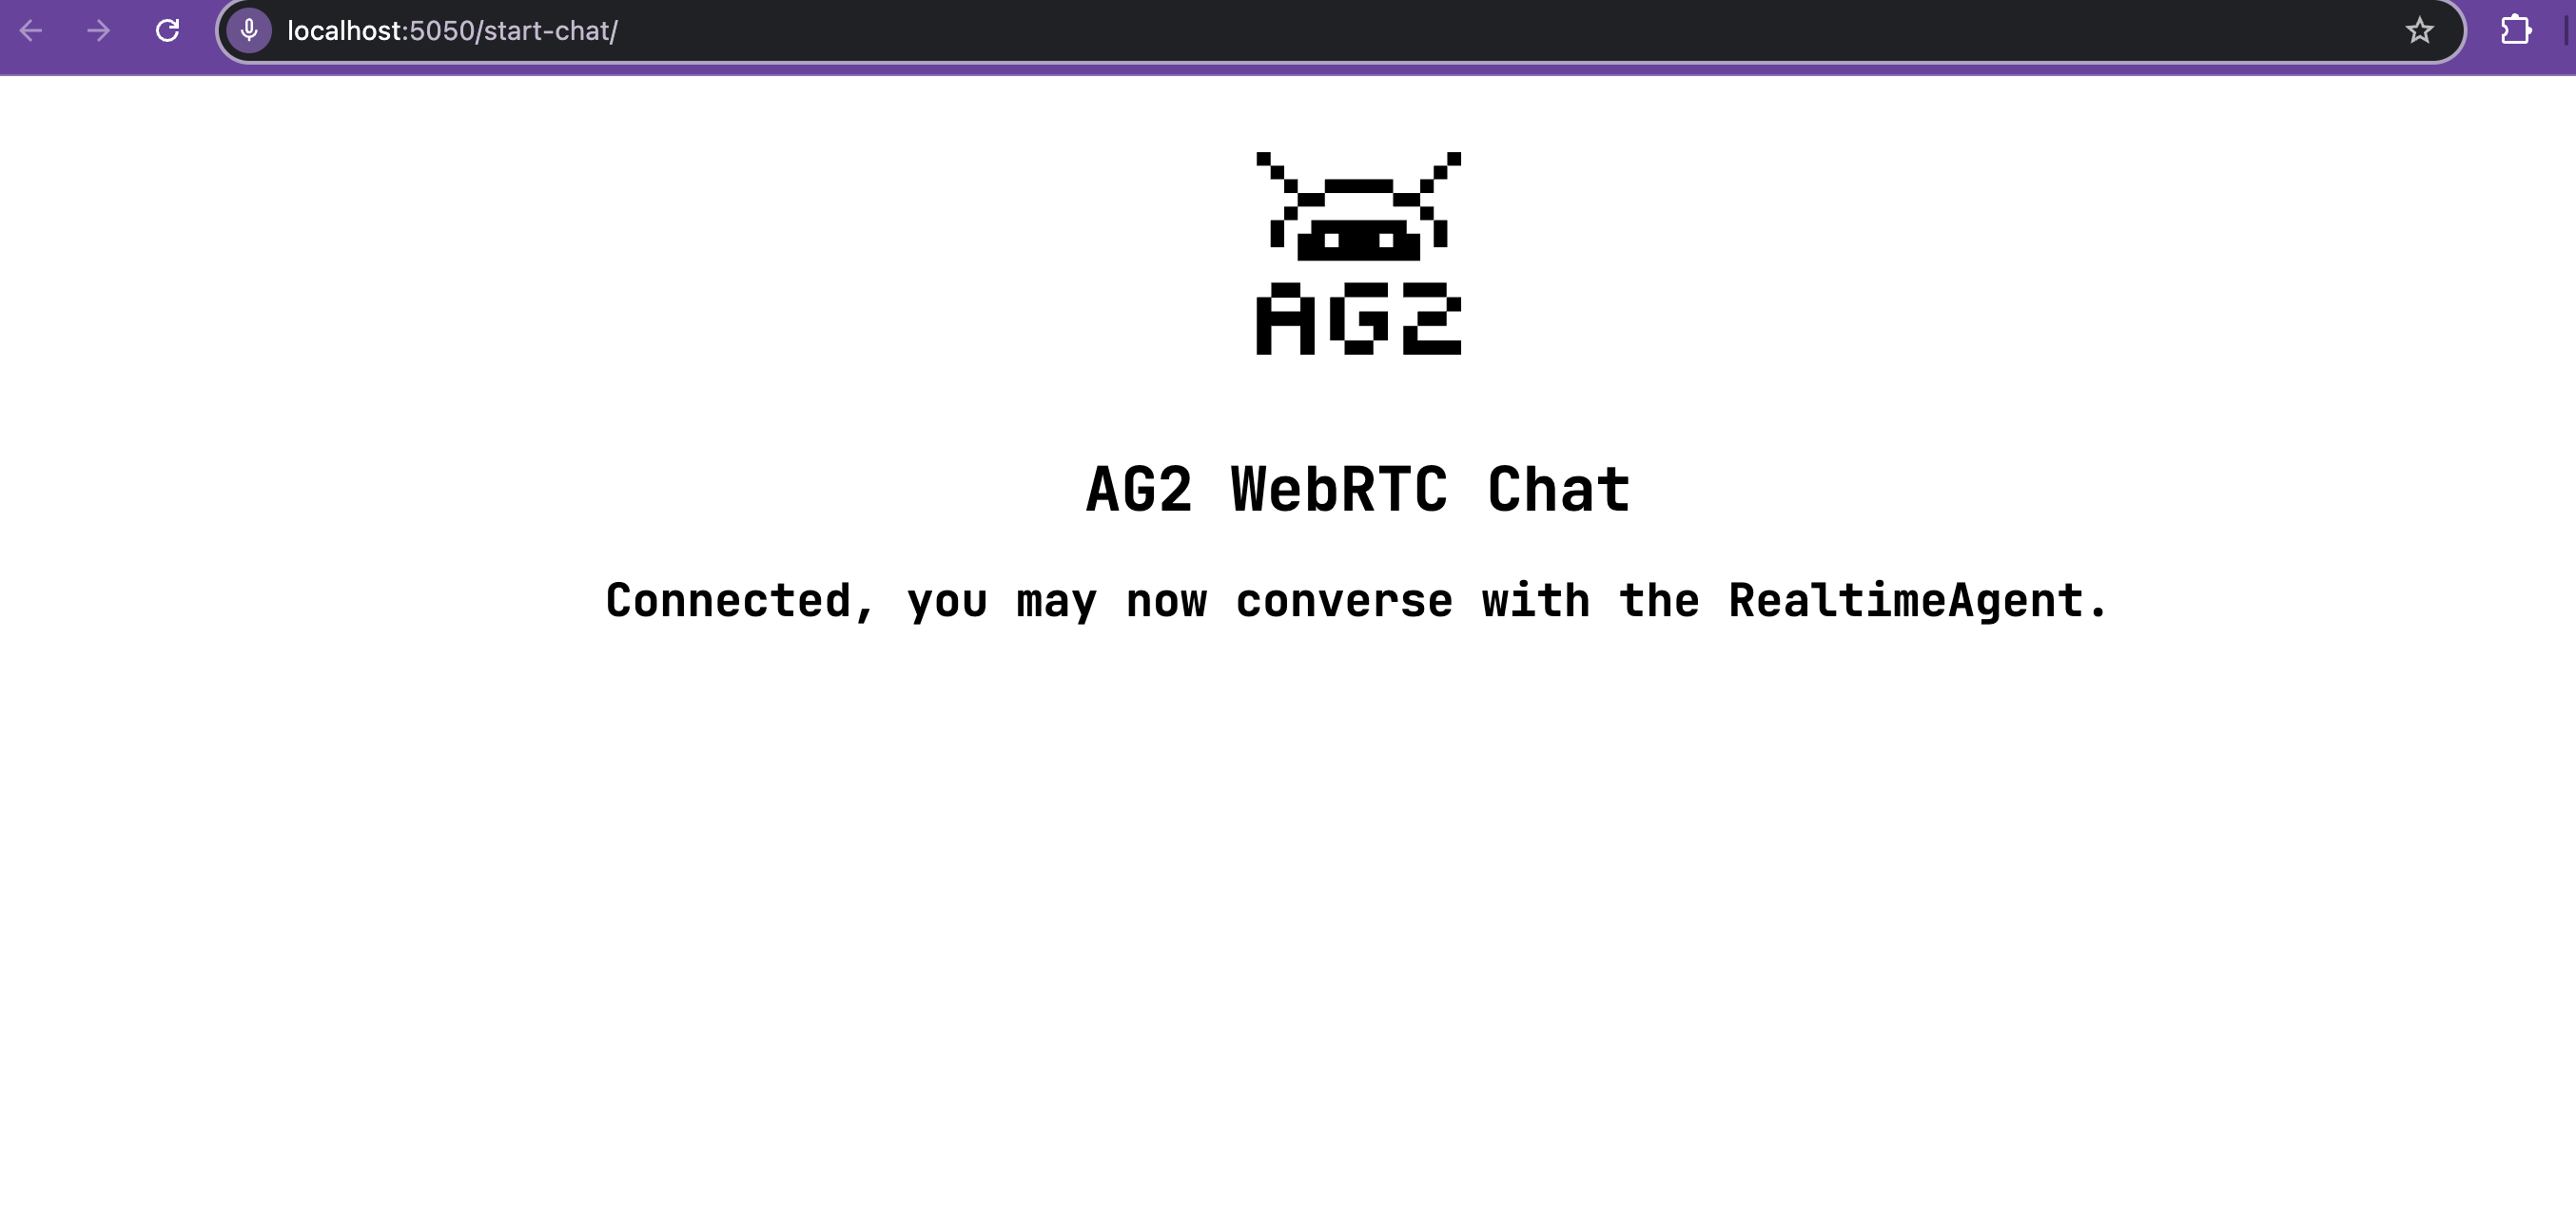
Navigate to localhost:5050/start-chat in your browser. The application will request microphone permissions to enable real-time voice interaction.
6. Start Speaking
To get started, simply speak into your microphone and ask a question. For example, you can say: “What’s the weather like in Rome?” This initial question will activate the agent, and it will respond, showcasing its ability to understand and interact with you in real time.Code review
WebRTC connection
A part of the WebRTC connection logic runs in browser, and it is implemented by AG2 javascript client library While you would usually use npm package in your project, for simplicity in this example we are referencing AG2 javascript client library directly with:Server implementation
This server implementation uses FastAPI to set up a WebRTC and WebSockets interaction, allowing clients to communicate with a chatbot powered by OpenAI’s Realtime API. The server provides endpoints for a simple chat interface and real-time audio communication.Create an app using FastAPI
First, initialize a FastAPI app instance to handle HTTP requests and WebSocket connections.Define the root endpoint for status
Next, define a root endpoint to verify that the server is running.Set up static files and templates
Mount a directory for static files (e.g., CSS, JavaScript) and configure templates for rendering HTML.Serve the chat interface page
Create an endpoint to serve the HTML page for the chat interface.chat.html page and provides the port number in the template, which is used for WebSockets connections.
Handle WebSocket connections for media streaming
Set up a WebSocket endpoint to handle real-time interactions, including receiving audio streams and responding with OpenAI’s model output.RealtimeAgent that will manage interactions with OpenAI’s Realtime API. It also includes logging for monitoring the process.
Register and implement real-time functions
Define custom real-time functions that can be called from the client side, such as fetching weather data.RealtimeAgent. It responds with a simple weather message based on the input city.
Run the RealtimeAgent
Finally, run theRealtimeAgent to start handling the WebSocket interactions.


