


Mark Sze
Software Engineer at AG2.ai

Tvrtko Sternak
Machine Learning Engineer at Airt

Davor Runje
CTO at Airt
TL;DR
- Learn how to build an agent chat application using WebSockets and
IOStream - Explore a hands-on example of connecting a web application to a responsive chat with agents over WebSockets.
- Streamlined Real-Time Interactions: WebSockets offer a low-latency, persistent connection for sending and receiving data in real time.
Real-Time Applications: Why WebSockets?
WebSockets provide a powerful framework for real-time communication between a client and server. Unlike traditional HTTP requests, which require polling for updates, WebSockets establish a persistent, full-duplex connection that allows for continuous data exchange. This capability is critical for applications that use AG2, where seamless interaction is essential.Key Benefits of WebSockets
- Low Latency: WebSockets reduce latency by maintaining a direct, open connection, avoiding the overhead of repeated HTTP handshakes.
- Efficient Data Streaming: Continuous, two-way data streams enable smooth user experiences in real-time applications.
- Event-Driven Communication: With WebSocket protocols, the server can “push” updates to the client as events occur.
- Simplified Architecture: WebSockets eliminate the need for separate polling mechanisms, reducing server load and complexity.
Building a chat System
This example demonstrates how to create a WebSocket-based chat system that streams real-time input and output from AG2 Agents.How It Works
- WebSocket Connection: The client establishes a persistent WebSocket connection to the server.
- Real-Time Data Flow: Events in the conversation are streamed over WebSockets to the browser where they can be displayed.
Example: Creating a Weather chat app
Let’s walk through an example that integrates WebSockets with a weather-focused chat.You can explore the full example code here.
1. Clone the Repository
2. Set Up Environment Variables
Create aOAI_CONFIG_LIST file based on the provided OAI_CONFIG_LIST_sample:
api_key to your OpenAI API key.
(Optional) Create and use a virtual environment
To reduce cluttering your global Python environment on your machine, you can create a virtual environment. On your command line, enter:3. Install Dependencies
Install the required Python packages usingpip:
4. Start the Server
Run themain.py file:
Test the App
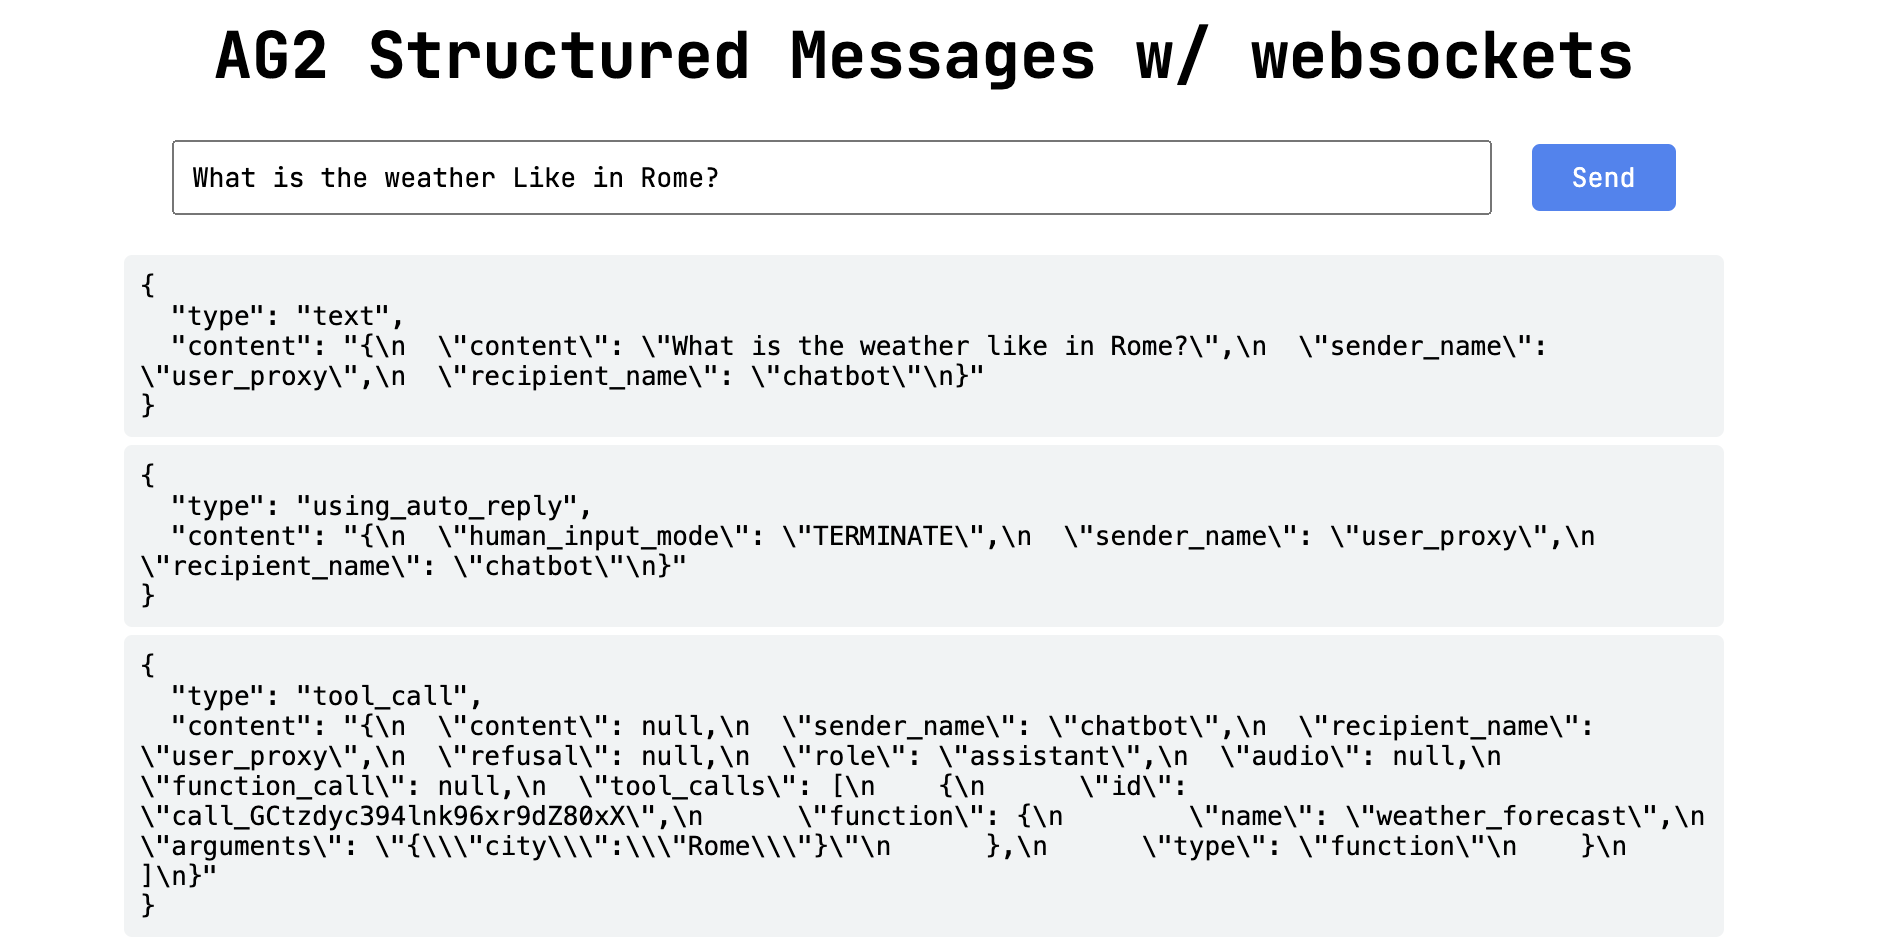
With the server running, open the client application in your browser by navigating to http://localhost:8001/. And send a message to the chat and watch the conversation between agents roll out in your browser.Code review
Backend Code: main.py
The backend is responsible for serving the frontend, managing WebSocket connections, and hosting the AI-powered conversational agent. Below is a step-by-step breakdown.
Setting Up the WebSocket Server
TheIOWebsockets.run_server_in_thread utility is used to run a WebSocket server. The on_connect function handles new client connections and initializes the chatbot.
on_connect: Handles client connections and manages the interaction between theConversableAgentand the client.- Tool Registration: The
weather_forecastfunction provides a mock weather report and is linked to the agent for handling weather-related queries.
Serving the Frontend
TheSimpleHTTPRequestHandler is used to serve HTML files. A custom handler class overrides the behavior for the root path to serve chat.html.
- The
MyRequestHandlerclass ensures that the default page served ischat.html. - Files are served from the
website_files/templatesdirectory.
Running the Servers
Finally, both the WebSocket and HTTP servers are started.- The WebSocket server listens on port
8080, while the HTTP server listens on port8001. - The WebSocket server handles real-time communication, while the HTTP server serves static files.
Frontend Code: chat.html
The frontend provides a simple interface for users to interact with the chatbot.
HTML Structure
The HTML structure defines an input form for sending messages and a list for displaying them.JavaScript Logic
The JavaScript code establishes a WebSocket connection, handles incoming messages, and sends user input to the backend.- WebSocket Initialization: Connects to the WebSocket server at
ws://localhost:8080. - Message Display: Appends incoming messages to the
#messageslist. - Sending Messages: Captures user input, sends it to the server, and clears the input field.